Residential Microgrid Setup Guide: Introduction to a Smart Home Energy Transformation
As a sustainable architect and green energy engineer, I’ve seen firsthand how a well-planned residential microgrid setup can transform a home’s energy usage. Instead of relying solely on the main grid, creating your own microgrid means you generate, store, and manage your power where you live. In this comprehensive Residential Microgrid Setup Guide, I’ll walk you through the technical essentials, installation processes, financial considerations, and long-term benefits of integrating renewable energy sources into your home. This is a direct, no-nonsense guide designed for homeowners who demand efficiency, ROI, and energy independence.
The Problem: Challenges with Traditional Home Energy Systems
Traditional energy systems leave homeowners vulnerable to unpredictable power bills, utility rate hikes, and grid outages. I’ve experienced the frustration of seeing constant fluctuations on the monthly utility bill, and a traditional grid-connected system offers little control. The common challenges include:
- Unpredictable Costs: Monthly bills can be erratic, especially during peak seasons.
- Grid Dependency: Interruptions and blackouts can disrupt daily life and threaten sensitive equipment.
- Environmental Impact: Traditional grids may rely on nonrenewable, polluting energy sources.
- Limited Efficiency: Aging infrastructure and power losses during distribution reduce overall system efficiency.
These issues emphasize the need for a modern, sustainable alternative. As I discovered while working on my projects, a residential microgrid not only addresses these challenges head-on but also brings long-term savings and energy security directly to your doorstep.
The Sustainable Solution: A Comprehensive Residential Microgrid Setup Guide
This guide is structured to help you design and implement a residential microgrid that works seamlessly with your home’s existing electrical system. Our focus is technical clarity, practical design, and real-world results. Below, I break down the major elements involved in planning, sizing, and installing your network of renewable energy resources.
Understanding the Essential Components of a Residential Microgrid
A robust residential microgrid consists of several key components working together. Here’s a closer look at each element:
- Energy Generation:
• Solar Panels: The most popular choice for homeowners. They convert sunlight directly into electricity using photovoltaic cells. Panels are evaluated in kilowatts (kW) and are usually designed based on your daily kWh usage. In many cases, solar panels account for a significant portion of your energy production.
• Wind Turbines: In areas with steady wind currents, small-scale wind turbines act as an additional power source. They’re especially useful in regions where sunlight may be limited.
- Energy Storage:
Battery systems are critical—they store excess energy produced during peak generation times. I typically recommend lithium-ion batteries due to their superior efficiency, longevity, and minimal maintenance requirements. Battery capacity should match your household’s consumption patterns. In bullet points, consider:
- Daily kWh consumption estimate
- Backup energy for nighttime or cloudy days
- The ability to store energy over multiple days if needed
- Power Conversion:
• Inverters: These devices convert direct current (DC) from solar panels and batteries into alternating current (AC) needed for your home appliances. A robust inverter also stabilizes voltage fluctuations, a crucial factor during surges.
- Charge Controllers:
These regulate the flow of electricity from your panels to your batteries to prevent overcharging. I prefer MPPT (Maximum Power Point Tracking) controllers because they maximize panel output.
- Monitoring & Control Systems:
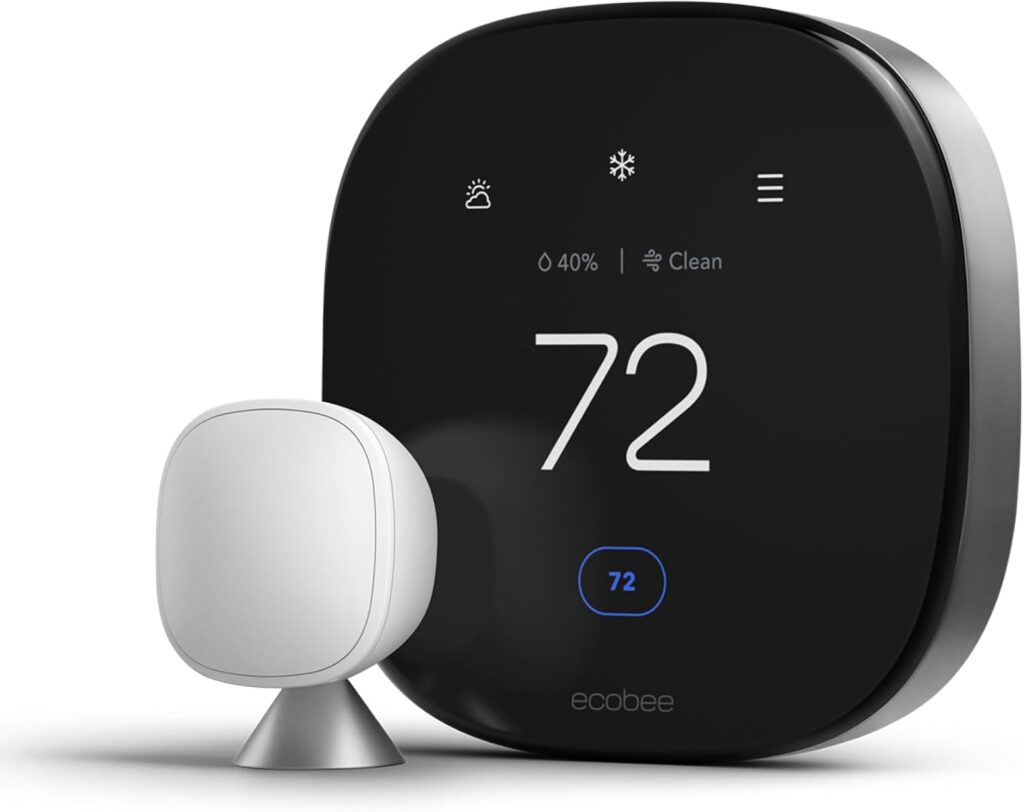
Smart meters and management software offer real-time insights into your energy production, storage, and consumption. Tracking these metrics allows you to adjust your usage, identify inefficiencies, and optimize system performance.
For a deeper dive into zero waste and sustainable practices, see our internal resource on Zero Waste Living.
Key Design Principles for an Optimal Residential Microgrid Setup
The design of your system is just as important as its components. A good design translates to higher efficiency, better reliability, and an improved return on investment (ROI). Here are the design principles I follow:
- Load Analysis:
Understand your home’s energy consumption patterns. Which devices draw the most power? When do you hit peak usage? Knowing that most households see higher usage in the mornings and evenings, your system should be able to handle these loads.
- Scalability:
Plan your microgrid for future expansion. Today’s design should allow you to add more solar panels or additional battery capacity as your energy needs evolve.
- Redundancy:
Incorporate backup components such as a secondary inverter or additional battery modules. This safeguard enhances reliability during peak moments or in case of component failure.
- System Integration:
Make sure all components communicate effectively. Modern smart controllers allow for automatic switching between grid power and stored energy, resulting in an efficient, hands-off operation.
- Efficiency Optimization:
Choose components that match your home’s consumption. Over-sizing leads to unnecessary costs, while under-sizing risks frequent power outages.
This methodology ensures that your Residential Microgrid Setup Guide becomes the blueprint for a long-lasting, efficient, and economically sound energy system.
Calculating Your Energy Needs and System Sizing Requirements
Before purchasing equipment, it’s essential to understand your home’s energy demands. I always start by reviewing my previous utility bills to establish a baseline. Here’s how you can do it:
- Monthly Bill Analysis:
Collect several months of utility bills and average your kilowatt-hour (kWh) usage. This average lets you calculate an approximate daily energy requirement by dividing by 30.
- Energy Monitors:
Consider installing a real-time energy monitor on your electrical panel. These devices let you pinpoint which appliances or areas are consuming the most power.
- Direct Measurements:
Make a list of all household devices, note their wattage, and estimate how many hours they are active. For example:
• Refrigerator: 600W running 24 hours a day equals roughly 14.4 kWh daily.
By gathering this data, you minimize the risk of over- or under-sizing your system, ensuring cost-efficiency and optimal operation.
Determining Daily and Peak Energy Requirements
After calculating your monthly consumption, focus on identifying your peak demand. Peak load is the period when power usage spikes dramatically—often when major appliances run simultaneously. In such cases:
- Peak Load Evaluation:
List high-consumption appliances like air conditioners, electric ovens, and water heaters. Measure their simultaneous usage to determine your maximum load in kilowatts (kW).
- Inverter and Battery Sizing:
Ensure that your inverter can handle these surges by opting for a model with extra capacity (around 20-30% higher than your peak load). Similarly, your battery storage must cater not just for average requirements but also for these short bursts of high demand.
Planning for peak consumption means your system stays reliable even under stress.
Installation Steps and Integration with Home Electrical Systems
Installing your residential microgrid involves a well-sequenced process to ensure every new component works harmoniously with your existing electrical system. I’ve been through this process personally, and here’s how I navigated the installation:
Understanding Your Current Electrical Infrastructure
Before installing new equipment, evaluate your home’s main electrical panel, sometimes referred to as the breaker box or distribution board. Key steps include:
- Examine Available Capacity: Check if your panel has space for new breakers. Older panels may already be fully loaded.
- Review Electrical Plans: If available, review your electrical plans or request them from your local building department. Understanding voltage ratings and current capacities is essential.
- Meter and Service Entrance: Make sure your current meter can accommodate additional two-way flow if your system will send power back to the grid.
Planning Your Microgrid Integration
Effective integration requires a detailed plan that maps out your new system alongside existing circuits and appliances. Here’s what I do:
- Critical Loads Identification: List the appliances you want to keep powered during outages and those that can wait.
- Collaboration with Professionals: Work with licensed electricians and microgrid designers who know local codes and utility requirements. Their expertise ensures a safe installation.
- System Mapping: Create a diagram that shows how the various components—solar panels, batteries, inverters, and charge controllers—connect to each other and your electrical panel.
Installation Sequencing and Physical Preparations
Proper sequencing of installation is non-negotiable. The order of operations typically looks like this:
- Electrical Panel Upgrade:
Update your main panel by adding extra breaker spaces and disconnect switches if needed.
- Battery Installation:
Set up the battery storage in a dry, ventilated area with protection against extreme temperatures. Ensure proper cable routing and connection to a battery management system.
- Renewable Energy Source Setup:
Install solar panels or wind turbines. Mount panels in positions with maximum sun exposure (south-facing in the Northern Hemisphere) and verify they’re free of shade.
- Inverter and Control System Integration:
Install inverters and smart controllers after both the energy generation and storage systems are in place. These devices are the “brain” coordinating your system.
- Final Electrical Connections:
Connect everything to the existing electrical panel with the appropriate breakers and disconnect switches. This ensures safety and compliance with electrical codes.
Testing, Commissioning, and Safety Checks
After installation, comprehensive testing verifies the entire system’s functionality:
- Component-Level Testing: Check each solar array, battery bank, and inverter separately for proper voltage and load responsiveness.
- Load Testing: Simulate peak demand by running multiple appliances simultaneously and ensure the system handles the load.
- Grid Integration Validation: If connected to the grid, test that your microgrid effectively disconnects during outages to protect utility workers.
- Compliance Inspections: Schedule an official inspection to verify your work meets local electrical codes and safety regulations.
Maintenance Protocols and Long-Term Performance Optimization
Once your residential microgrid is up and running, maintenance is key to protecting your investment. I maintain a strict schedule and recommend these best practices:
Daily and Weekly Operational Checks
Simple daily and weekly checks keep your system healthy:
- Daily Visual Inspection: Check battery levels and inspect your solar panels for dust, debris, or any obstructions.
- Weekly Monitoring: Review the system’s display panel or smartphone app for error messages or abnormal voltage readings. Keep a log to track any deviations from normal performance.
Seasonal Maintenance Routines
Each season poses its own set of challenges. I break down seasonal tasks as follows:
- Spring: Thoroughly clean solar panels, inspect all electrical connections, and test panel output metrics.
- Summer: Ensure that cooling systems for batteries and inverters are operating correctly and that vents remain unobstructed.
- Fall: Remove leaves and debris, check insulation on battery enclosures, and verify proper ventilation.
- Winter: Inspect insulation for cold weather effects, monitor battery performance, and ensure that generators or backup systems are fully operational.
Battery System Care and Inverter Maintenance
Battery and inverter maintenance is crucial for system longevity:
- Battery Care:
- Check terminals monthly for any signs of corrosion.
- Maintain a charge between 20% and 80% to extend battery life.
- Ensure batteries are housed in temperature-controlled environments.
- Inverter Maintenance:
- Monthly checks for loose connections or unusual fan noises.
- Regular cleaning of air filters and dust removal from vents.
- Monitor inverter efficiency metrics; if it drops significantly, professional servicing might be needed.
Optimizing Performance Through Data Analysis
Data is power. Use system monitoring tools to assess performance and pinpoint areas for improvement:
- Review daily, weekly, and monthly energy production and consumption data.
- Look for trends such as excessive energy use during certain hours and adjust device usage accordingly.
- Optimization Tip: Schedule high-energy tasks during peak solar production hours.
Professional Inspections and Software Updates
Schedule annual, professional inspections to catch potential issues before they become costly repairs. Keep your system’s software and firmware updated; these updates often include improved efficiency features and bug fixes.
By the Numbers: Costs, Savings, and Carbon Footprint Reduction
Numbers don’t lie. Here is a breakdown of the estimated costs and the ROI you can expect from your residential microgrid setup:
-
Solar Panels:
- Cost: $2.50 to $3.50 per watt
- Typical capacity: 5 to 10 kW, costing around $12,500 to $35,000
-
Battery Storage:
- Cost: $5,000 to $15,000 per kWh
- Typically installed: 5 to 15 kWh, costing $25,000 to $225,000
-
Inverters & Controllers:
- Cost: $3,000 to $8,000 for inverters plus $2,000 to $5,000 in additional components
- Installation Labor: Approximately 10-20% of total equipment cost.
- ROI: Most homeowners recoup their investment in 6 to 10 years via energy savings.
- Carbon Footprint Reduction: A well-optimized microgrid can reduce a household’s carbon emissions by up to 50%, depending on previous reliance on fossil fuels.
The Financial Impact: Incentives, Tax Credits, and Long-Term Savings
This is where the rubber meets the road. While the upfront costs of a residential microgrid can appear daunting, various incentives make it financially viable:
Federal Tax Credits and Rebates
The federal Investment Tax Credit (ITC) currently allows you to claim 30% of your system cost as a tax credit on your federal income taxes. For example, a $50,000 system might only set you back $35,000 after applying the ITC. Taking advantage of these credits sooner rather than later maximizes your savings.
State, Local Incentives, and Utility Rebates
Beyond the federal ITC, many states offer additional tax credits, rebates, and performance-based incentives. In regions like California, New York, and Massachusetts, state programs further reduce the net investment. Check with your local utility for special rebates or net metering incentives where you receive credits for surplus energy fed back into the grid.
Property Tax Exemptions
In many states, renewable energy systems are exempt from increased property tax assessments. This means your investment won’t lead to a corresponding hike in your tax bill—a benefit that compounds savings over the years.
Net Metering Programs
Net metering is a game-changer. When your system produces more power than you need, you send that surplus back to the grid and receive credits in return. This extra “battery” helps offset high energy costs during low-production periods, further enhancing ROI.
Case Study: My Home’s Journey to a Self-Sufficient Energy System
Let me share an experience from one of my recent projects. A homeowner in the Midwest was tired of unpredictable utility bills and frequent outages during storms. By integrating a 7 kW solar system with 10 kWh of battery storage, we achieved remarkable results. Here are some challenges and successes from that project:
- Challenge: The existing electrical panel was outdated and fully loaded. We had to upgrade it to support new breakers and ensure safe integration.
- Success: We installed a smart inverter that seamlessly shifted power between the grid, solar panels, and battery storage. The homeowner noted a 40% reduction in monthly energy costs.
- Challenge: Seasonal variations impacted energy production. During winter, output was lower, so we optimized battery usage to maintain consistent power.
- Success: Regular monitoring and data-driven adjustments allowed the system to reach efficiency gains leading to a 25% overall energy savings over the year.
This project is a testament that with proper planning, even older homes can benefit from a residential microgrid. It also underscores the significance of proper electrical planning and professional installation.
Installation Diary: A Step-by-Step Narrative
I find that sharing a personal installation diary helps demystify the process. Here’s a high-level day-by-day rundown from one of my installations:
- Day 1: Conducted a detailed energy audit. Reviewed past bills, measured appliance loads, and mapped out the household energy usage. The insights directly influenced the sizing of the solar and battery components.
- Day 2-3: Coordinated with an electrician to inspect and upgrade the main electrical panel. We installed additional breaker spaces and ensured the meter could handle bidirectional flow for net metering.
- Day 4: Mounted the solar panels on a south-facing section of the roof. We verified that